
How To Create the Perfect Gallery Wall
For some, deciding how to decorate your walls can be a stressful task. Remember that the interiors of your home are meant to celebrate you and the things you love, and this includes what you decide to showcase on the walls that house you and your family's lives. For those torn between finding the perfect piece of art or unsure precisely what to hang on a large wall, gallery walls can be an excellent solution for everyone. Gallery walls are an eye-catching way to infuse color and pattern into a space. For art lovers, displaying your collections in a gallery format means you don't have to leave out any of your favorites. A gallery wall can also include a variety of items like photographs, drawings, postcards from your favorite vacations, jewelry, or family serving dishes that have been passed down from generations. We've come up with how we like to create the perfect gallery wall below to help you get started.

1. Art Forms and Mementos
The type of gallery you are wanting will help you decide what to include in your collection. For an eclectic look, you can combine new and vintage works from different mediums to showcase various styles and genres. Pair those with some of your favorite record albums, and you'll have yourself an authentic and memorable gallery wall. If you're going for a more modern look, find works of art or photographs with similar color palettes or pieces similar in size from the same collection to create a refined and unified finish. Color can play a key role in the overall design of your gallery wall and can serve as an easy connection that ties your elements together.
2. Bring Everything Together
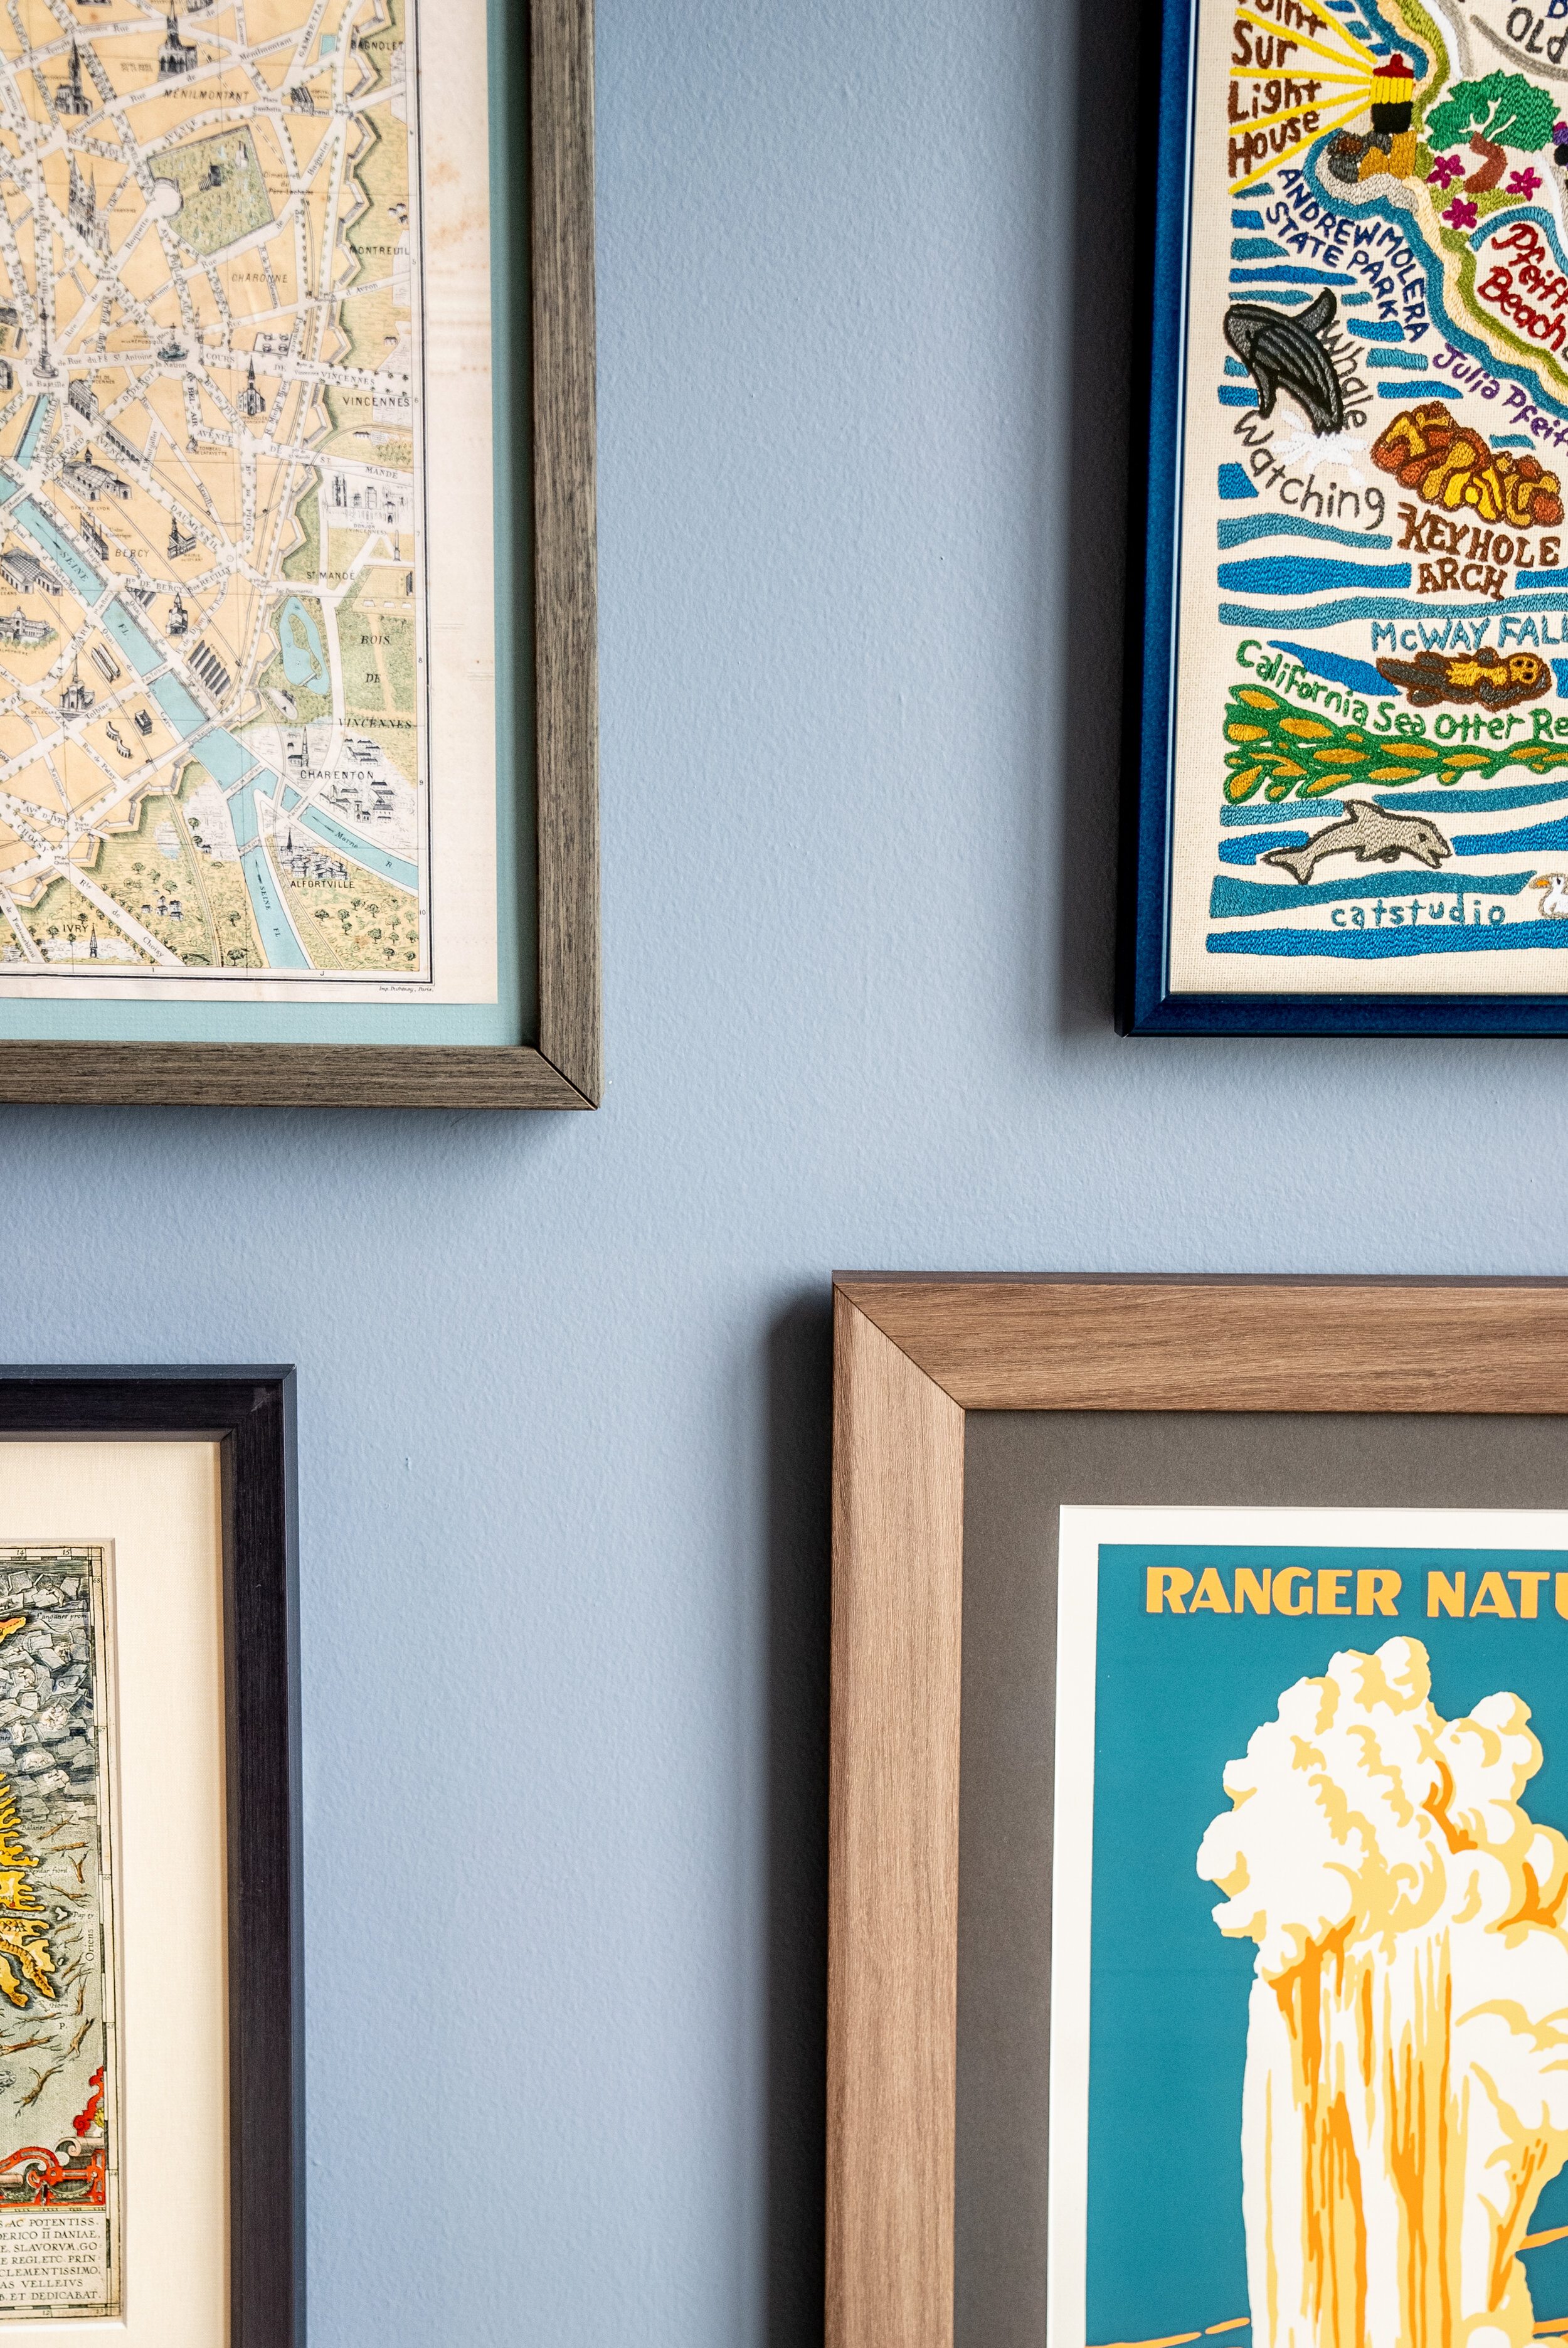
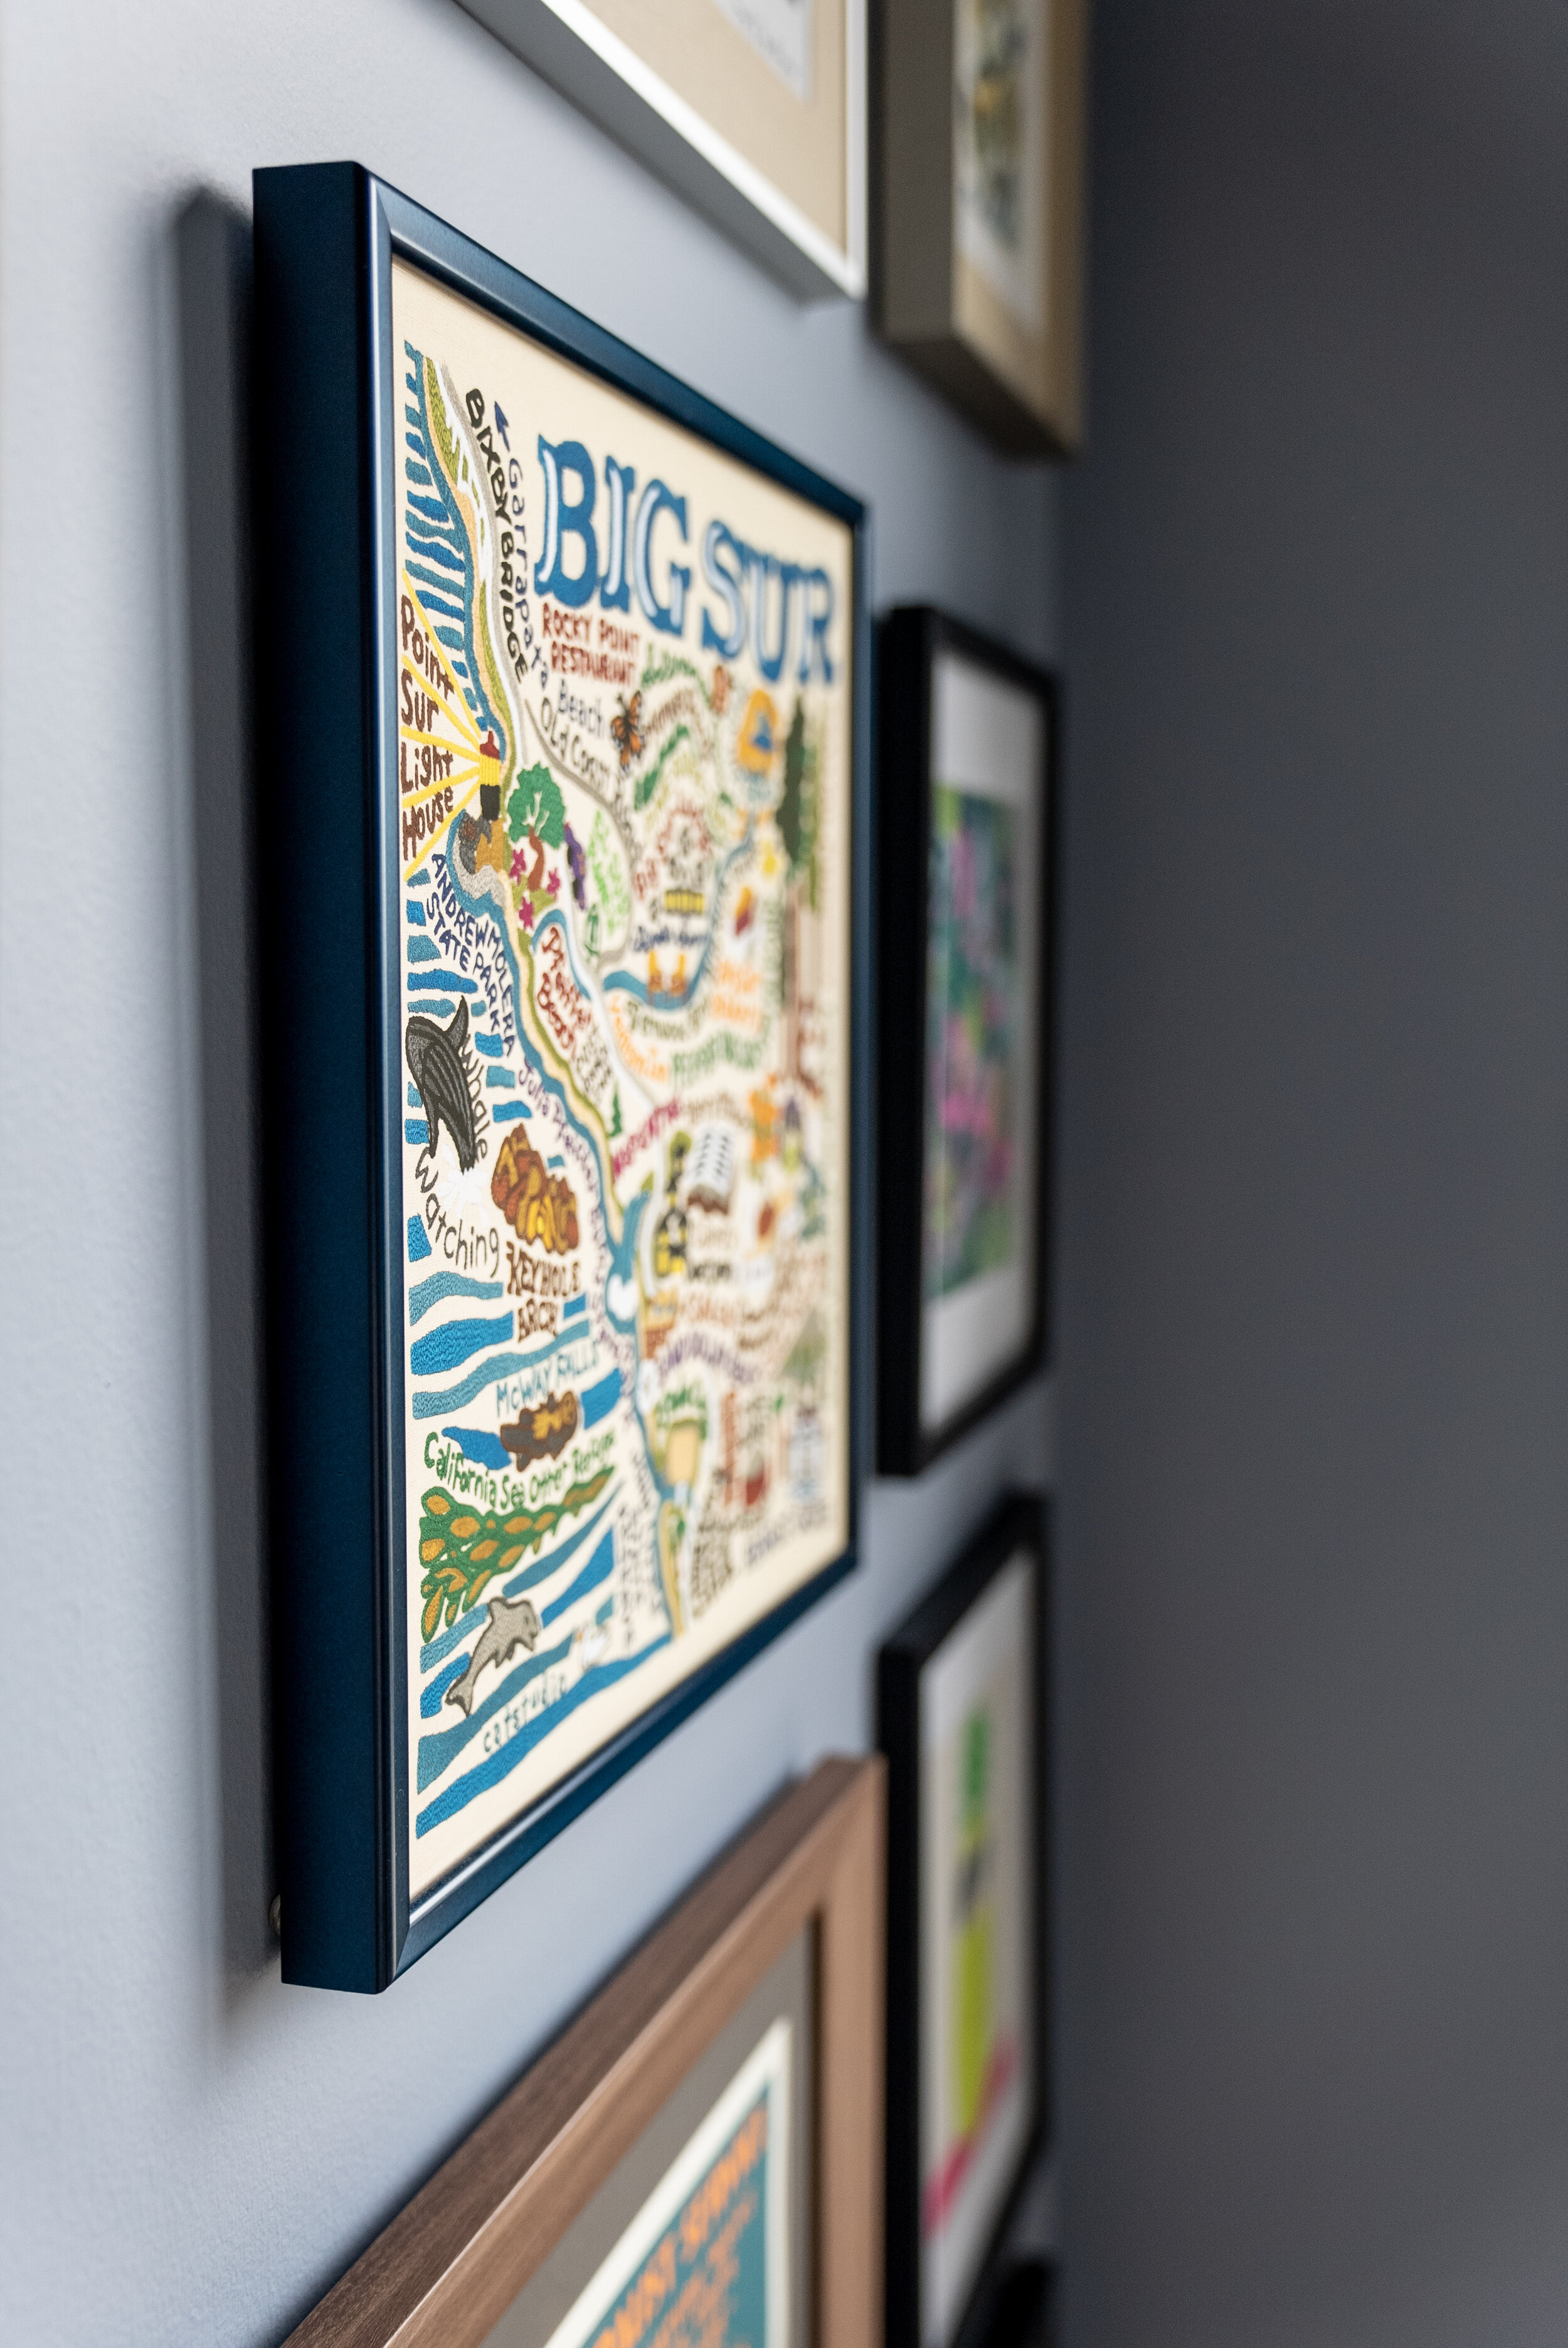
As you are collecting your items for your gallery wall remember, no matter how different they may seem there are design elements you can use that will help tie them all together. If your pieces can be framed, keep the frames cohesive by selecting similar color frames or matboards. You can also add a few different colored frames to make it more of an eclectic mix. Allowing some of your items not to be framed is another way to incorporate some authenticity and natural appeal to your gallery.

3. Map it Out
Once you've gathered your materials and your items for your gallery wall, arrange your pieces on the floor. This will give you a general idea of how everything will lay out when it is hung. Try a couple of different layouts to make sure you find the best one for your works and the space they will be living in. When you've found the design arrangement you like best, take a photo to refer to later. This will take the guesswork out of hanging the right pieces in the proper order.
4. Save Room for Negative Space
The relative space between your collection of pieces plays a crucial part in the success of your gallery wall. Make sure to leave enough room for negative space between each item and that the distance is equal all the way around. This will help the installation appear organized and uniform. We recommend a span of 2 inches between each item. If you leave too much space (anything more than 5 inches) or uneven spacing, your gallery could appear incomplete or random.
5. Painters Tape Is Your Best Friend
You can use painter's tape for several household projects. We suggest using painter's tape to show the amount of space you want between each frame. Using the length of the painter's tape as a visual will allow you to easily judge the spacing between each piece as you assemble your collection. Painter's tape is easier to work with, and it won't damage your walls when you remove it.
6. Level Playing Field
When you hang your first few items, use a level to make sure they are centered. If you start off center, the rest of layout will be crooked as well. Starting with a level playing field for your gallery collection will ensure that everything is arranged and highlighted in an organized way. Once you confirm everything is aligned and in order, you'll be ready to proceed with your installation.
7. Build From the Base
To begin hanging your gallery wall, start by hanging the bottom piece of your arrangement first. Building from the lowest part of your design will allow you to grow your gallery wall up and out, so you don't run the risk of running out of space. If you're making a gallery wall above another piece of furniture, start 6 inches above the back edge. This negative space will make the gallery centered within its environment between the top of the wall and the top of the surrounding furniture.
Showcasing who you are and what you love with a gallery wall can transform the way you interact and see a space. If you're feeling unsure about your gallery wall or how to decorate the walls of your home, we can help you bring it all together and to see your interiors in a different way.